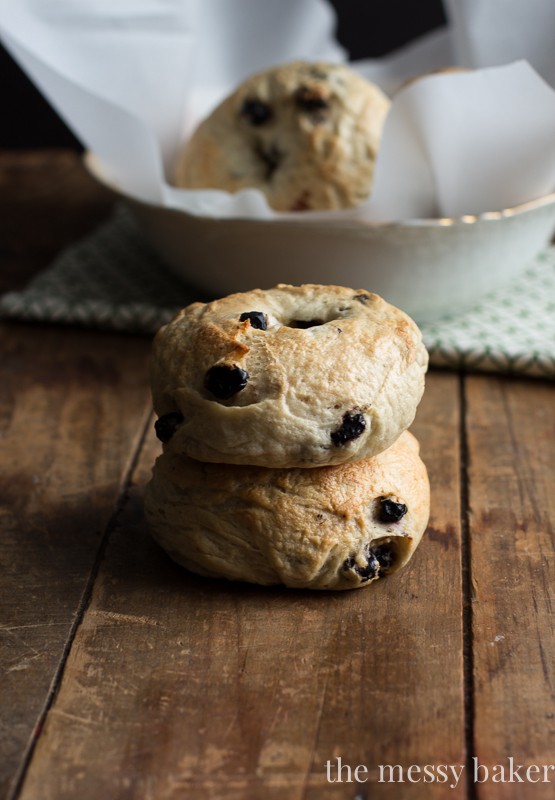
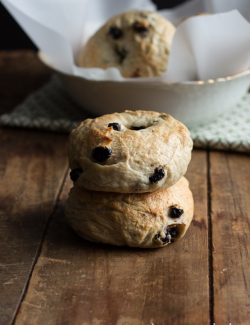
Blueberry Bagels {A Tutorial}
Chewy bagels loaded with juicy blueberries.
I’ve had bagels on my imaginary baking bucket list for quite some time now. I say imaginary, because it doesn’t actually exist; well, at least not on paper. My bucket list exists only in my head, long and wavering.
With all of the creative talent on the Interwebs, it’s hard to keep a concrete list of recipes on my list.
I lack the necessary authoritative characteristics a bucket list demands. In other words, I have a short attention span. What looks good today is sure to change ten times by tomorrow. I have an ongoing list of recipes; so many recipes, not enough time. I’d have to make eight recipes a day to even begin to make a dent in the scroll that is my bucket list.

One recipe at a time, right?
I was finally able to cross one of the items off of my lengthy list: homemade bagels. If I had known how painless and methodical the process was, I probably would have crossed them off of the list earlier.
In total, the process takes 2 hours. Granted, a majority of that time is dedicated to rising and proofing the dough. They’re a bit step heavy but not at all complicated.
I made this dough twice. The first attempt was made with fresh blueberries. What a mess! I have no idea what I was thinking. Okay, I know exactly what I was thinking. Fresh is better. In this case, fresh made a sticky mess.
The second attempt was made using dried blueberries. I didn’t have high expectations, but, in the end, I was pleasantly surprised. The dried blueberries reconstituted during the rising and baking process, plumping and becoming juicy. Since dried blueberries have a higher concentration of blueberry flavor, they were the perfect choice–even if they were my second choice.
Let’s talk flour. Specifically, bread flour vs. all-purpose flour.
I’m a loyal all-purpose flour baker. My thoughts were, “What can bread flour do that all-purpose flour can’t handle?” Boy, was I naive.
As a blogger, I have a ton of crap. It’s necessary crap, but it’s crap non the less, and crap adds up. The last thing I wanted to do was purchase yet another bag of flour. Where does one store a fourth bag of flour in a full kitchen? So, I went ahead and made the bagels with all-purpose flour.
Bad decision!
My bagels were tough and dense, not at all chewy and supple on the inside. One good throw to the head, and they would knock someone unconscious. In the trash they went.
I learned a valid lesson: one more bag of flour won’t hurt.
The second batch of bagels using the stubbornly purchased bag of bread flour earned its keep in my baking cabinet. I shoved a few other things out of the way and squeezed the bag into its new place on the shelf. Problem solved?
Why choose bread flour? What’s the difference? Really, is it worth the money? I’m glad you asked.
Bread flour has a higher percentage of protein, usually ranging from 12-14 percent depending on the brand, and is usually used in recipes that call for yeast. The higher gluten content assists in the rising process. Breads made with bread flour yield a smoother, more elastic dough, which aids in the overall structure and shape of the dough. Bread flour is off white in color and a bit coarser than all-purpose flour.
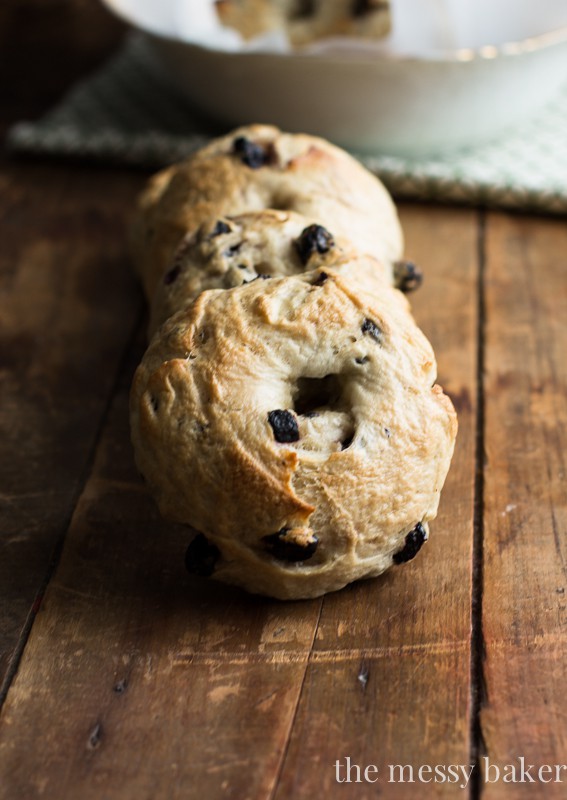
My first batch of bagels were lumpy and hard to shape. The batch made with the bread flour proved easier to shape and turned out smooth and symmetrical in shape. Their exterior was chewier than the first batch and their interior was softer and lighter, not at all dense like the first batch.
Let’s discuss the bagel making process:

A portion of the flour, yeast, dried blueberries, and salt get mixed with the paddle attachment in the bowl of your stand mixer.
I used Red Star Platinum Yeast for this recipe. For an impatient bread maker like myself, Red Star expedites the rising process.
Honey and hot water are whisked together in a measuring cup then added to the flour mixture. Beat the dough until it just starts to come together.
Swap the paddle attachment for the dough hook. Add the remaining flour and mix on the lowest speed for 8 minutes. You’ll know the dough is ready when its smooth and elastic.

Transfer the dough to a lightly floured surface and shape into a smooth ball. Place the dough in a lightly oiled bowl; cover with a dish towel and place the bowl in a warm, undisturbed, area of your kitchen. Allow the dough to rise until its double in size, about 1 hour.

Shape the dough into a log. Using a pastry scraper or floured knife, cut the log into 8 even pieces.
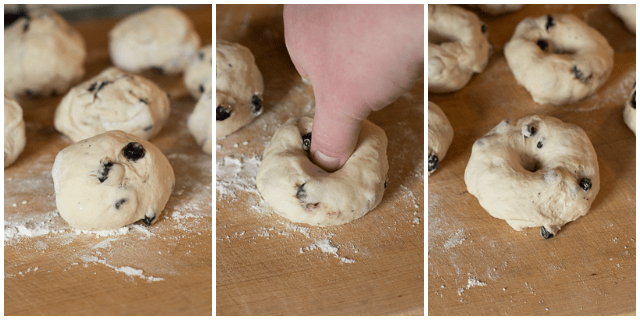
Gently roll the dough into balls. Place your thumb (thumb courtesy of Squirrel) in the center of each ball and push down to create a hole. Gently tug on the dough to create a larger whole. Cover the dough with a dry towel and allow to proof (rest) for 15 minutes.
While the dough is resting, heat 8 cups of water to a gentle boil. Preheat the oven to 400 degrees F. and cover a baking sheet with parchment.
Boil the bagels for 40 seconds on each side. Remove from the water with a slotted spoon and onto your prepared baking sheet. Sprinkle each bagel with a generous pinch of sugar and bake for 25-30 minutes, or until the tops of the bagels are golden brown.

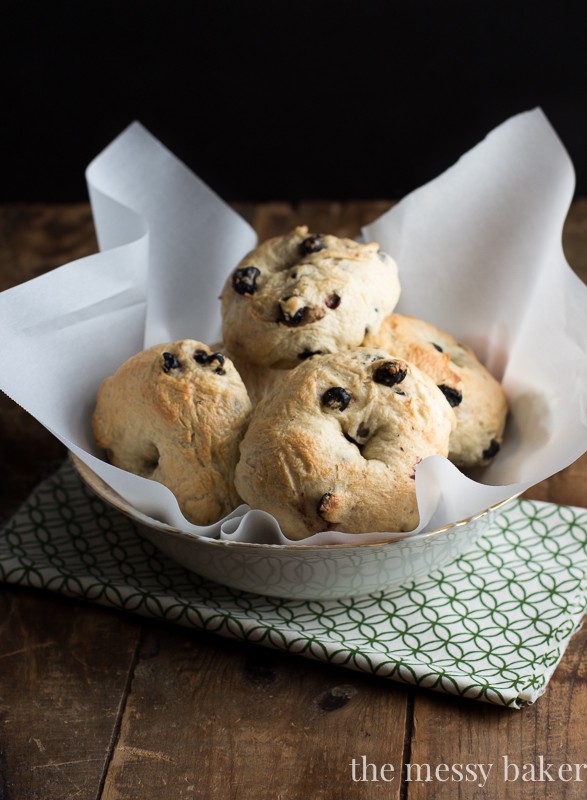
Store the cooled bagels in an airtight container or bag for up to 7 days. Or, freeze the bagels in a single layer for up to 3 months.
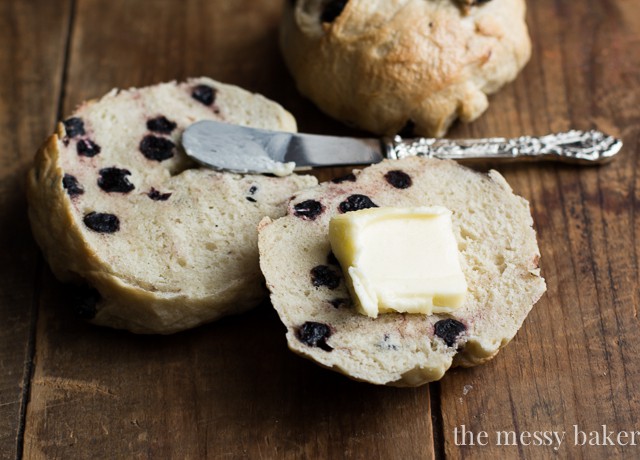
Toast the bagels and slather with butter before serving.
Honey Wheat Blueberry Bagels
Soft, chewy bagels bursting with juicy blueberries.
Ingredients:
- 3 and 1/2 cups bread flour, divided
- 1 and 1/2 teaspoons kosher salt
- 1 and 1/4 cups dried blueberries
- 1 and 1/2 cups hot water (not to exceed 120 degrees F.)
- 3 tablespoons honey
- 1 packet Red Star Platinum yeast
Directions:
- In a stand mixer attached with the paddle attachment, mix 2 1/2 cups flour, salt, and dried blueberries until combined.
- Whisk hot water and honey together in a measuring cup. Add the yeast and gently whisk to combine. Set aside for 5-10 minutes to allow the yeast to bloom.
- Slowly add the water mixture to the flour mixture. Beat until the dough just comes together. Scrap down the sides of the bowl and give the mixture one more good mix.Swap the paddle attachment for the dough hook. Add remaining 1 cup of flour. Continue to mix on low for 8 minutes.
- Transfer the dough to a lightly floured surface and shape into a smooth ball. Place the dough in a lightly oiled bowl. Cover with a clean, dry kitchen towel and place the bowl in a warm, undisturbed area of your kitchen. Allow the dough to rise until its double in size, about 1-2 hours.
- Transfer the dough to a lightly floured surface and shape the dough into a log. Using a pastry scraper or floured knife, cut the log into 8 even pieces.
- Gently roll the dough into balls. Place your thumb in the center of each ball and push down to create a hole. Gently tug on the dough to create a slightly larger whole. Cover the dough with a dry towel and allow to proof (rest) for 15 minutes.
- While the dough is resting, heat 8 cups of water to a gentle boil. Preheat the oven to 400 degrees F. Cover a baking sheet with parchment.
- Boil the bagels for 40 seconds on each side. Remove from the water with a slotted spoon and onto your prepared baking sheet. Sprinkle each bagel with a generous pinch of sugar and bake for 25-30 minutes, or until the tops of the bagels are golden brown.
- Store the cooled bagels in an airtight container or bag for up to 5 days. Or, freeze the bagels in a single layer for up to 3 months.
You may use active dry yeast in place of Red Star Platinum yeast for this recipe. If you decide to use active dry yeast, your dough could take up to 2 1/2 hours to rise.